Install on Desktop (macOS)
On an Apple-Silicon Mac, oap desktop is the fastest way to a working OAP. It boots a lightweight
Linux VM, installs the entire stack into it with a persistent local memory backend, and gives you a menubar
app to open a chat, open the admin dashboard, or install an agent — with no Kubernetes to set up and nothing
reachable from outside your machine.
Before you start
Desktop builds on the Mac it runs on, so it needs:
- An Apple Silicon Mac (the VM is arm64 and uses Apple's Virtualization framework).
- Xcode Command Line Tools, for
codesign. - Docker with
buildx, plus
curland zstd, to build the VM's images. - The common tools and a clone of the repository: see Prerequisites.
First run, step by step
Build the app, then open it:
mage desktop:all
open build/desktop/out/oap.app
- Open the app. Launch
oap.app. The first time, right-click → Open (it's ad-hoc signed for local use). A menubar icon appears, animating a "setting up" state. - Configure. A native setup window opens with a short form:
- Model provider — Anthropic, OpenAI, or OpenRouter.
- API key — for that provider.
- Model — optional; leave blank to use the provider's recommended default.
- Local admin password — for signing in to the dashboard.
- Watch it come up. On submit, the window switches to a live timeline: provisioning the disk image, booting the VM, installing components, and configuring the cluster (registering the model, provisioning sign-in, and applying a demo agent so there's something to talk to immediately).
- You're running. The menubar icon flips to "running" and its menu enables.
The menubar menu
Once it's up, the menubar icon is your control surface:
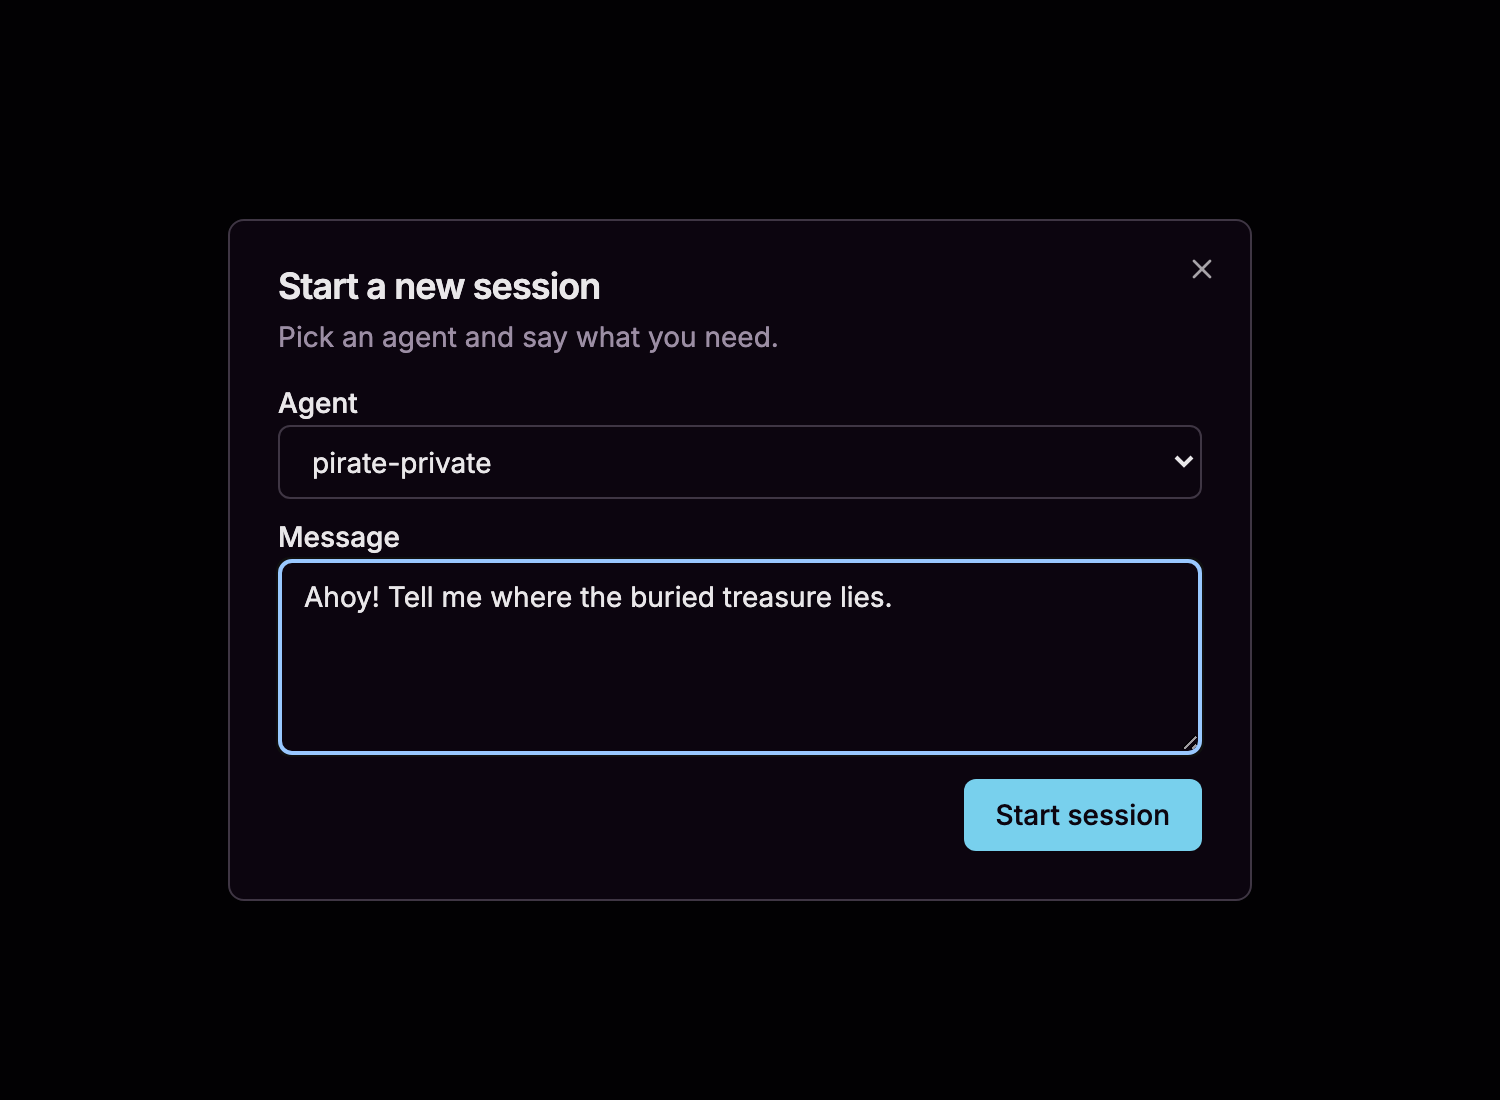
- New chat… — pick an agent and start a session in your browser.
- Active sessions — jump back into any live session.
- Open dashboard — the admin console.
- Install agent from .oap… — drop in a packaged agent bundle.
- Stop (keep your data) · Uninstall (remove the VM) · Quit.
All of those open a loopback-only browser tab into the local web server — nothing is exposed to the network, and the tab is gated by the admin password you set at setup:

Picking New chat… opens the session picker in that tab — choose an agent and say what you need:
Once it's running, head to Your first agent — the demo agent is already there, and you can add your own. The desktop stack does not include the agent builder; one more command turns it on — see Turn on the agent builder.